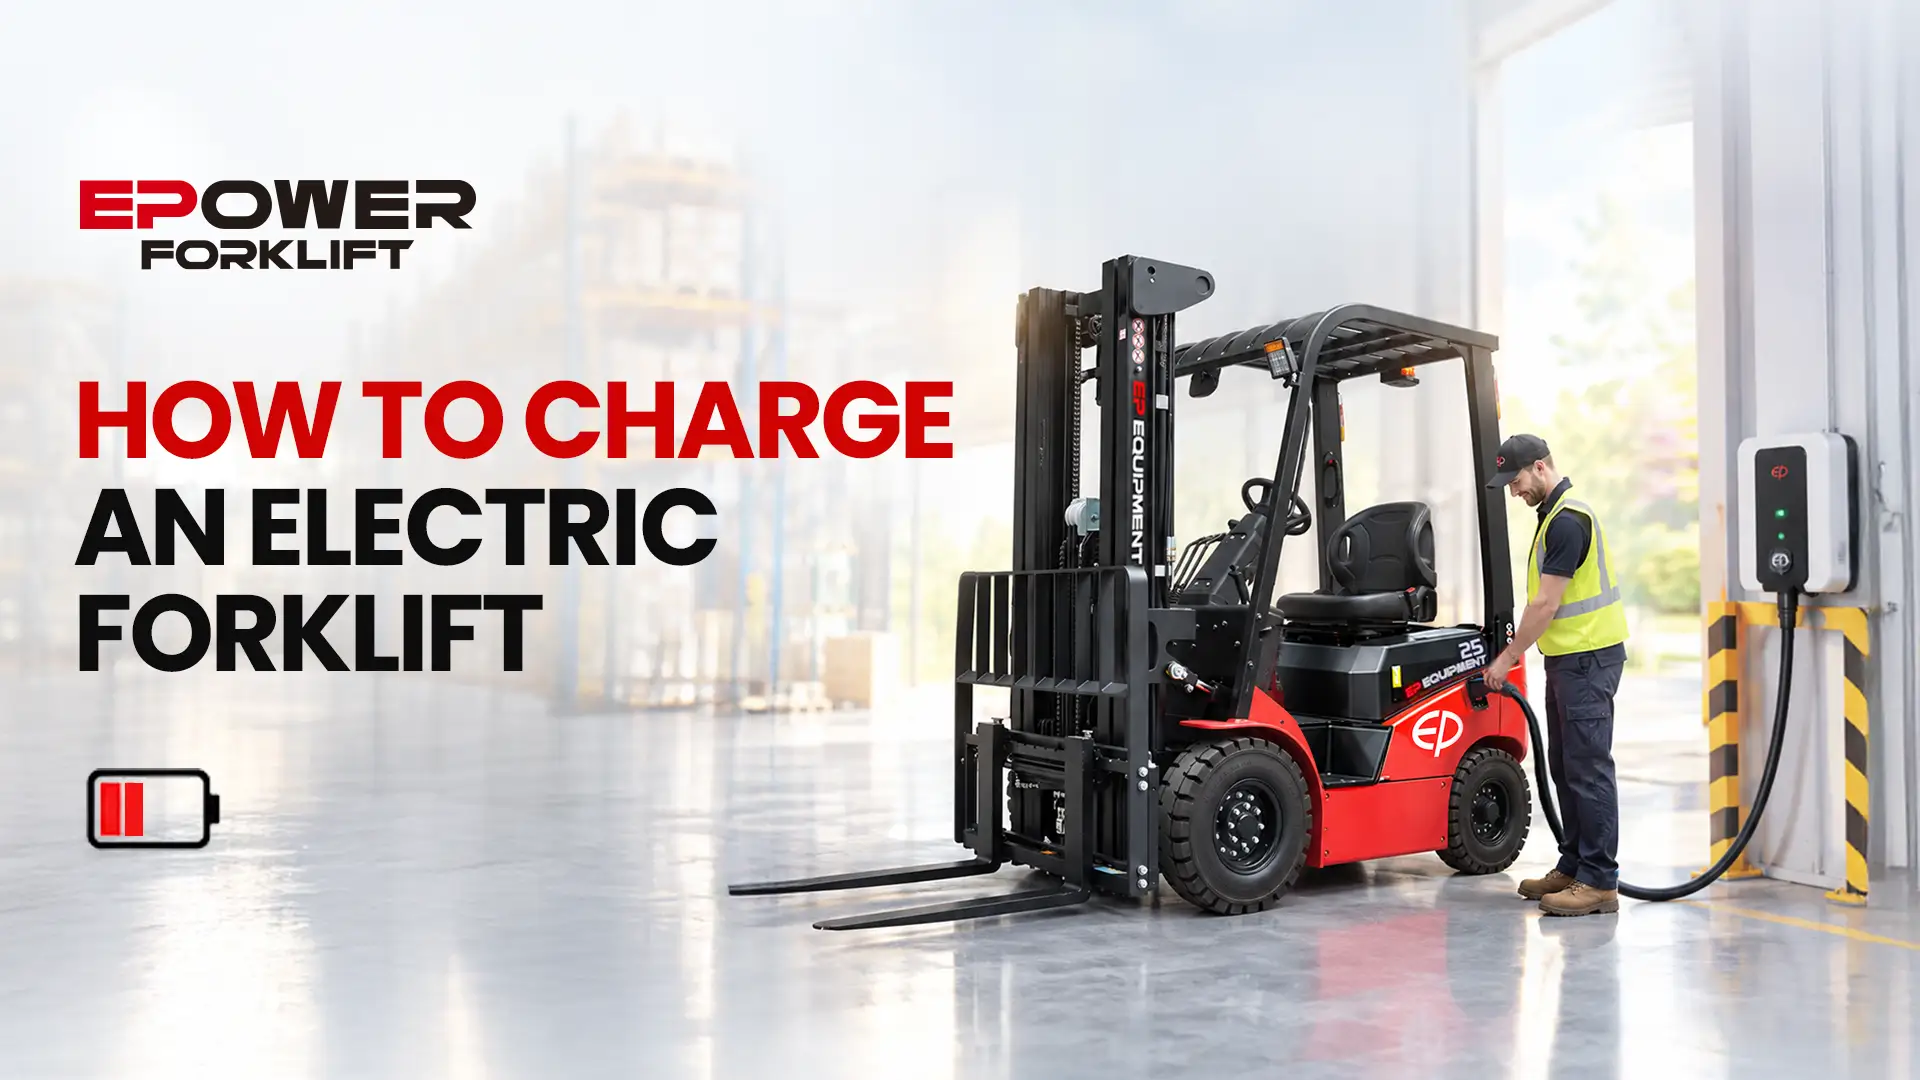
Charging a lithium electric forklift is straightforward when the charger, battery system and charging procedure are correctly matched. The charger must match the battery system, the charging connection should be checked before use, and any model-specific instructions from the manufacturer should take priority over a general routine.
The steps below cover the standard charging process for a lithium-powered electric forklift.
6 Steps to Charge a Lithium Electric Forklift
Step 1 — Park and Secure the Forklift
Park in the designated charging area on level ground, away from pedestrian traffic and with the charger protected from vehicle impact. Engage the parking brake. Lower the forks to the floor. Switch off the forklift and remove the key.
Before connecting anything, check the dashboard for warnings or fault codes. If an unfamiliar or safety-related fault is displayed, record the code and check the operator manual before charging. If the cause is unclear, contact the dealer or a competent technician.
Step 2 — Inspect the Charging Connector and Cable
Inspect the charging connector and cable before every charge. Do not charge if any of the following are present: melted plastic, burn marks, bent or damaged contacts, cracked insulation, or corrosion on connector pins.
A damaged connection on a high-current charging circuit should be treated as a fault. Do not use the connector until the issue has been inspected and resolved.
Step 3 — Confirm Charger Compatibility
Use only the charger supplied with the unit or a confirmed compatible replacement. Voltage alone does not determine charger compatibility. The charger must match the battery voltage, charging profile, current rating, connector and any communication requirements specified for that battery system.
This is particularly important across lithium forklift ranges because charging configurations vary. Do not use a charger from another forklift simply because the connector fits or the stated voltage is the same.
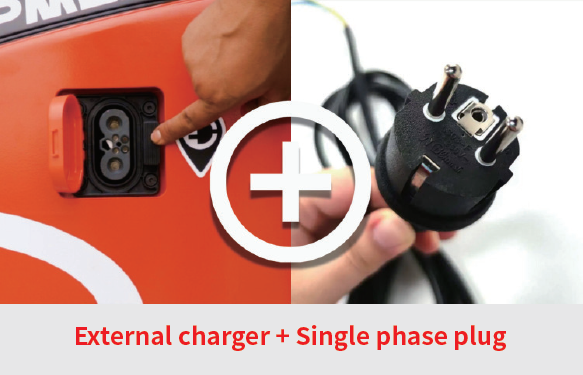
Step 4 — Connect and Confirm Charging Has Started
Once connected, confirm that charging has actually started. Depending on the model, charging status may be shown on the charger, battery indicator or forklift display. Do not assume the battery is charging simply because the cable is connected.
If charging does not start or a warning appears, disconnect according to the manufacturer’s procedure and check the operator manual before trying again.
Step 5 — Monitor the Charging Conditions
During charging, check for warning indicators, unusual heat, unusual odours or any sign that the connector, cable or charger is overheating.
Charge only within the temperature and operating conditions approved for the battery and charger. Some battery management systems may limit or interrupt charging when conditions fall outside the permitted operating range.
If charging stops unexpectedly or a fault appears, do not repeatedly disconnect and reconnect the charger. Check the operator manual or have the fault assessed before continuing.
Step 6 — Disconnect the Charger Correctly
Before returning the forklift to service, stop or disconnect charging according to the charger instructions and disconnect the charging cable. Never move the forklift while the charging cable is still connected.
Check the connector again after charging. If it is unusually hot, discoloured or shows new evidence of overheating, do not continue using it until the cause has been identified.
Store the charging cable where it cannot be driven over, crushed or damaged before the next charge.
Electric Forklift Battery Charging Mistakes That Shorten Battery Life
How Long Does It Take to Charge a Lithium Forklift?
Charging time depends on the battery capacity, charger output and starting state of charge. A larger battery or lower-output charger will take longer, while fast-charging configurations can reduce downtime significantly.
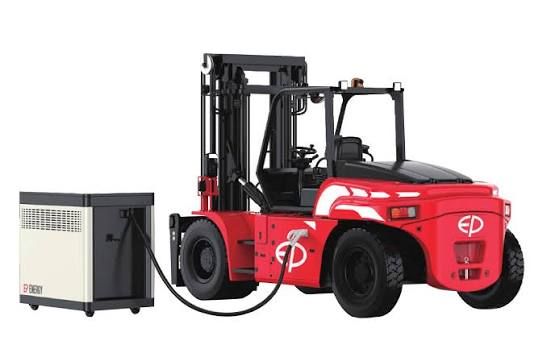
When Should You Charge a Lithium Forklift?
Lithium forklifts can usually be charged during normal breaks or other periods of inactivity rather than waiting until the battery is nearly depleted. This is commonly known as opportunity charging.
Short top-up charges can help maintain available runtime across the shift, provided the battery and charger are designed for that charging pattern.
Avoid routinely running the battery down to its protection limit. Follow the minimum state-of-charge guidance specified for the forklift and battery model.
If the forklift regularly reaches a low state of charge before the end of the shift, review the battery capacity, charger output and charging schedule rather than simply extending each charging session.
Note: If a fault or abnormal condition appears at any stage, stop charging and follow the model-specific troubleshooting procedure before continuing.
Forklift Battery Sizing by Shift Pattern: Single, Double and 24/7 Shifts
Conclusion
The correct way to charge a lithium electric forklift is straightforward: secure the forklift, check the charging connection, use the correct charger, confirm charging has started, and disconnect properly before returning the forklift to service.
The key is not to maximise charging time, but to use the correct charger and charging routine for the specific battery and duty cycle. Charging time, operating limits and opportunity-charging behaviour vary by battery and forklift configuration.
If you operate an EP forklift and are unsure about the correct charger or charging procedure, contact EPower with the model and battery details for support.